 Smoothy Slim
Smoothy Slim
Smoothy Slim

 Photo: Zsófia Fehér
How to Edit Your Food Photos to Perfection Step 1: Edit the Lighting. In the Edit panel on the left, we will choose Exposure under Essentials to start brightening up our photo. ... Step 2: Enhance Your Photo With Levels. ... Step 3: Add Some Color With a Tint. ... Step 4: Create a Focal Point. ... Step 6: Save It! ... Play With Composition.

Here are 15 juices and drinks that may boost your brain health. Coffee. Coffee is probably the most widely consumed nootropic beverage. ... Green...
Read More »
Best dark spot removal creams Blue Nectar Natural Vitamin C Face Cream. ... Glowpink Dark Spot Corrector Cream. ... Re' Equil Skin Radiance Cream....
Read More »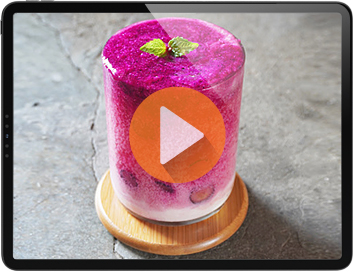
This effective juice jolts the metabolism, boosts energy and burns fat all day.
Learn More »People love beautiful food photos. They should elicit a specific feeling that goes beyond hunger. A photo of orange juice, if done correctly, will provoke thoughts of summertime or hosting a brunch with friends on a Saturday morning. A photo of a warm, comforting-looking stew will encourage memories of the winter months. This is what your goal should be when taking photos of food. Let's go to the BeFunky Photo Editor. Upload one of your favorite photos from the shoot. This photo of blueberry pastries looks good, but the colors are a little muted. And while we're fixing that, we can play with some other tools to make the photo really pop.

People use cucumbers on the eyes to soothe puffiness and reduce dark circles on the skin, which can give an impression of tiredness. When eyes...
Read More »
The Most Common Ways to Detox Fasting for 1–3 days. Drinking fresh fruit and vegetable juices, smoothies, water, and tea. Drinking only specific...
Read More »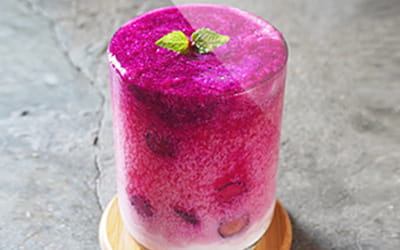
This effective juice jolts the metabolism, boosts energy and burns fat all day.
Learn More »
If you're worried maintaining lowered blood pressure might mean giving up bread, you will be thrilled to know that whole grain breads made out of...
Read More »
The best way to reduce visceral fat is through losing weight and diet. Visceral fat responds better to diet and exercise than fat on the hips....
Read More »
The main ingredient for a potent powdered supplement, based on the diets of among the healthiest, longest-living hamlet in the world.
Learn More »Start noticing the props used in flat lay photography and food photography. You’ll find that many photographers will use linens or old, scratched-up pans as their surface or backdrop. Think of the materials you have in your home and utilize those items before going out and buying all new props! You can do a lot with an old pan, a cutting board, and a sheet. Think about depth and texture. Visual differences in a photo such as height variance, object depth, and texture create interest and intrigue and allow the eye to move freely throughout your photo. Adding other props and ingredients to your photo helps to add visual differences that create more interest. This photo of a stack of pancakes establishes the sweet treat as the subject. Notice the white background and white sheet underneath. The photographer used berries, pears, and dripping honey as a way to create height differences. This allows your eyes to move throughout the frame. The photo of the burger gives you height variance as well with a different prop, the beverages. It also has texture variance with the paper under the bun. These elements add extra visual interest.

Chicken eggs are an affordable source of protein and other nutrients. They're also naturally high in cholesterol. But the cholesterol in eggs...
Read More »
The risks of eating sprouts. While they're nutritious, sprouts also run a risk of carrying foodborne illnesses like E. coli and salmonella. Most...
Read More »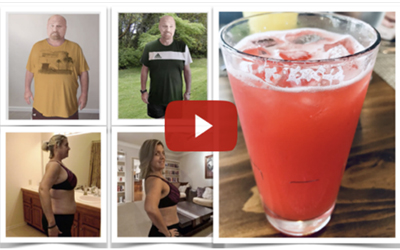
This effective juice jolts the metabolism, boosts energy and burns fat all day.
Learn More »
Every 24 hours, roughly synchronized with nighttime and daytime, your body enters a period of sleep followed by a waking period. The production of...
Read More »
This effective juice jolts the metabolism, boosts energy and burns fat all day.
Learn More »
The answer to this is easy: No. Lemons do not have special fat-burning qualities, explains Czerwony. A squeeze of the fruit's pucker-inducing juice...
Read More »