 Smoothy Slim
Smoothy Slim
Smoothy Slim

 Photo: Leeloo Thefirst
iPhone food photography often needs a bit of editing. You can do this in Lightroom or Photoshop. But you can also use photo editing apps such as Instagram or VSCO. Even iPhone has basic tools you can use for editing your food photos.

Signs of Detox Anxiety. Irritability. Body pain. Tremors. Changes in appetite. Nausea and vomiting. Diarrhea. Fatigue. More items...
Read More »
Pregnant people, older adults, young children, and those with compromised immune systems should avoid unpasteurized carrot juice. Additionally,...
Read More »
A potent powdered supplement blended right into water or your favored beverage to be appreciated as a scrumptious morning smoothy.
Learn More »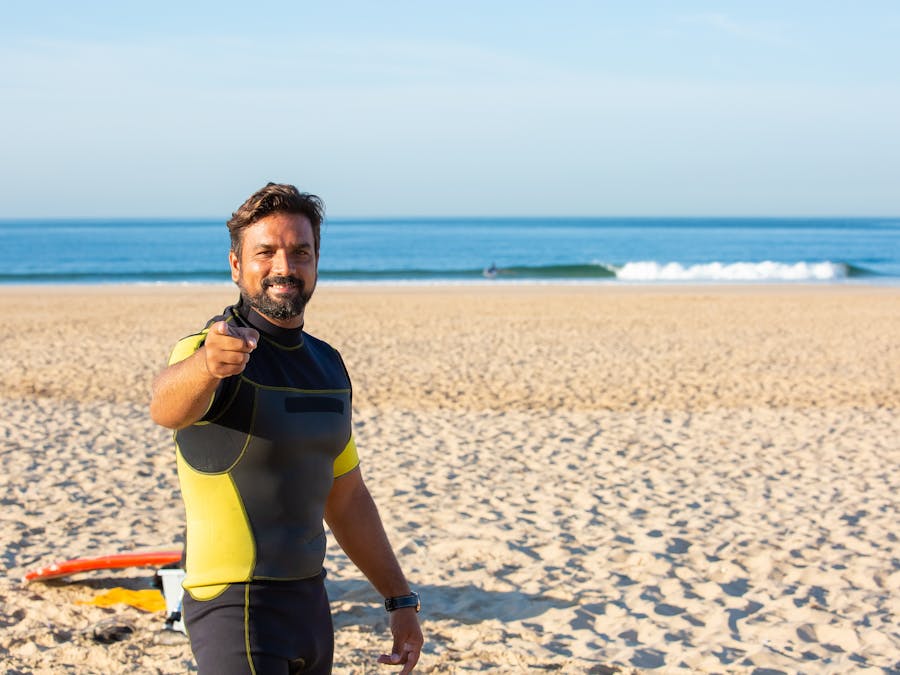
3. It can aggravate stomach problems and heartburn. People who consume too many citrus fruits often suffer from gastrointestinal problems,...
Read More »
There are many reasons why people gain belly fat, including poor diet, lack of exercise, and stress. Improving nutrition, increasing activity, and...
Read More »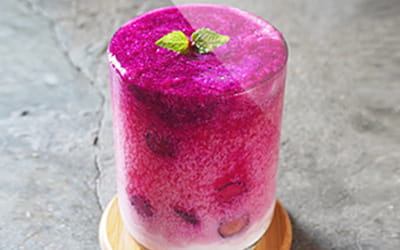
This effective juice jolts the metabolism, boosts energy and burns fat all day.
Learn More »Why not take a shot of your espresso with the floor as the backdrop? This works well with food items that are very simple or almost boring without the backdrop. In food photography, colours are your best friends. They represent flavours and freshness. You can use them in various ways. If you use shades of the same colour, you can create soft and calming food photos. While applying contrasting colours will result in vivid and dynamic pictures. People always associate certain colours with specific flavours or food items. For example, we associate pastel colours with sweets and cakes. There are studies stating that colour influences taste perception. You can use the scientific results for your advantage in food photography. Vivid yellow lemons trick our brain, and we start to salivate only by looking at the food photos. This might sound obvious but never use colours that don’t create positive associations. A khaki smoothie might be super healthy, but it doesn’t look very appealing. Professional food photography requires food stylist skills. The way you position your food subject can have astonishing effects on your final image. Pay attention to creating an appealing composition. Use the rule of thirds or the golden ratio to get the best setup. Make sure that you arrange everything in a nice and attractive way. You might have to cut up some items or use tweezers to pick up small objects. Add some fresh herbs or crunchy toppings to get more exciting images. You can also start to shoot dishes that need decorating items in general. Smoothie bowls are healthy, and there are a thousand ways to design them. If you are in a fine dining restaurant, the food is often represented in an impressive way. But you still need to pay attention to the composition. Do you shoot a close up or include parts of the cutlery too? You have to train your eyes to get delicious food photographs.

Glo Mobile, a subsidiary of Globacom, is Nigeria's second largest Mobile Network Operator. In the first year of operation, it had one million...
Read More »
After the dietary excesses of the holidays, you may notice the following symptoms presenting themselves – these can all be signs that you need to...
Read More »
This effective juice jolts the metabolism, boosts energy and burns fat all day.
Learn More »Props will make your iPhone food photography more exciting. You can use kitchen equipment, ingredients or cutlery. Pieces of fruit and spices are very photogenic. Place them around your main subject in an appealing way. Use props that compliment your subject. For example, design a scene for an apple pie with apple slices and cinnamon powder around it. You can also use props to represent the season. Leaves for autumn or Christmas lights for winter. Flowers are very popular and decorative elements all year round. A cocktail looks better with a straw in it and a lemon slice on the side of the glass. If you don’t want to create waste, use a plastic lemon and a reusable straw. Sometimes the best decorations are related to the place you’re having your food. A Sacher cake looks great with a napkin exhibiting the brand’s name and the traditional coffeehouse in the background.

Geulgram. This app is the only available on Android for free, whereas the other apps discussed are both available on iOS and Android. Nov 8, 2021
Read More »
Best Choice: Water Water is essential for your body. It prevents dehydration, constipation, and kidney stones. Plus, with no calories, it's the...
Read More »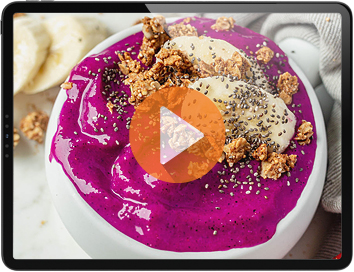
This effective juice jolts the metabolism, boosts energy and burns fat all day.
Learn More »
It turns out that V8 is particularly high in sodium because they use salt as a flavor enhancer and a preservative. Adding more sodium to your diet...
Read More »
A potent powdered supplement blended right into water or your favored beverage to be appreciated as a scrumptious morning smoothy.
Learn More »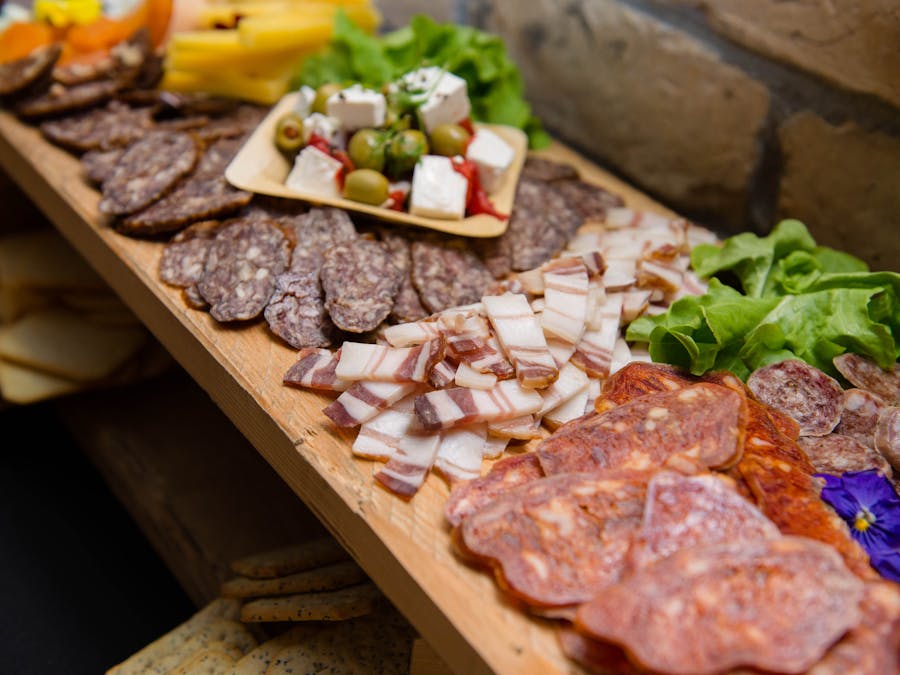
Additionally, check out these tips for how to burn belly fat in less than a week. Include aerobic exercises in your daily routine. ... Reduce...
Read More »